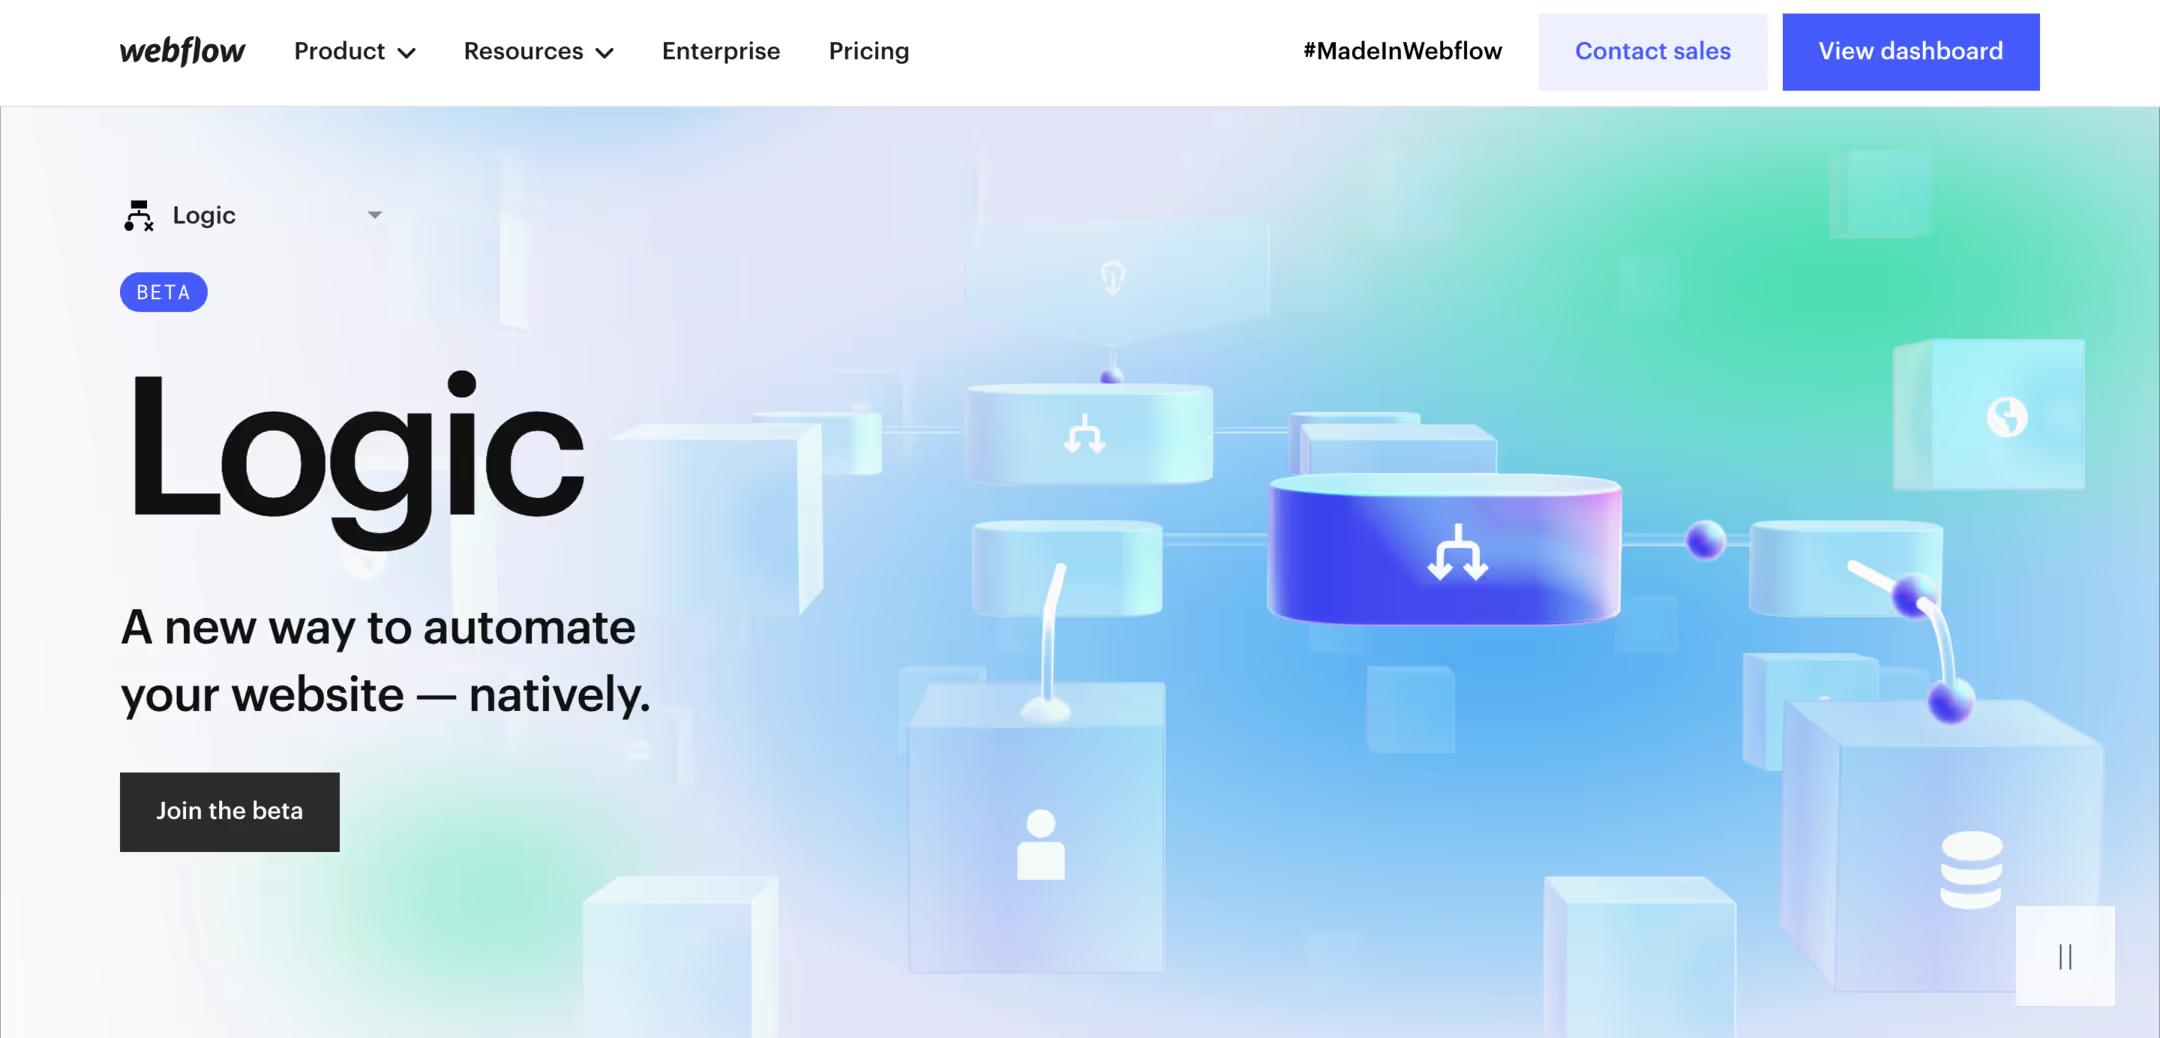
When Webflow announced that its native Logic feature would be sunset in June of 2025, it marked a major shift in how no-code teams handle automations. Logic, once positioned as Webflow’s built-in workflow engine, allowed users to automate site actions, like sending form data to CRMs or triggering custom emails, without touching external tools.
Now, those workflows are gone.
If you relied on Logic, your automations have stopped running.
But this isn’t the end of automation in Webflow, it’s just moving outside the platform.
In this guide, we’ll explore what the sunset means, how to rebuild your flows with tools like Zapier and Make, and what this change signals about Webflow’s long-term strategy.
What Happened to Webflow Logic?
Webflow officially retired Logic in June, 2025, disabling existing flows and preventing new ones from being created. According to their team, the decision allows them to “focus on improving core workflows” while recommending external automation platforms like Zapier and Make for users who need to maintain their integrations.
Forms and CMS items connected to Logic now behave as normal, disconnected elements. Webflow is offering migration support and limited-time partner discounts for users transitioning to third-party tools.
In short: Logic is gone, but Webflow’s automation capabilities now live through integrations, not inside the platform.
Step 1: Audit Your Existing Automations
Before rebuilding, you need a clear picture of what Logic was handling.
Create a simple spreadsheet and document:
- Trigger (form submission, CMS item creation, schedule, webhook)
- Conditions (e.g., “if plan = Enterprise”)
- Actions (e.g., “send to HubSpot,” “post to Slack”)
- Data used (form fields, CMS items, hidden UTM parameters)
- Destination tools (CRMs, Sheets, Slack, Airtable)
- Stakeholders (marketing, sales, ops)
This inventory helps you identify what needs to be rebuilt and what can be simplified or retired.
Step 2: Choose a Migration Path
With Logic retiring, Webflow officially recommends rebuilding automations in Zapier or Make, though advanced teams can also use custom webhooks or code-based workflows.
Option A: Zapier
Best for marketing and operations teams who need a simple, fast rebuild.
Pros:
- Easy visual builder and huge integration library
- Handles form submissions, CRM updates, Slack alerts, and more
- Automatically registers Webflow webhooks behind the scenes
Cons:
- Task-based billing can get expensive at scale
- Limited branching logic
Best for: Simple lead routing, CRM sync, or notifications.
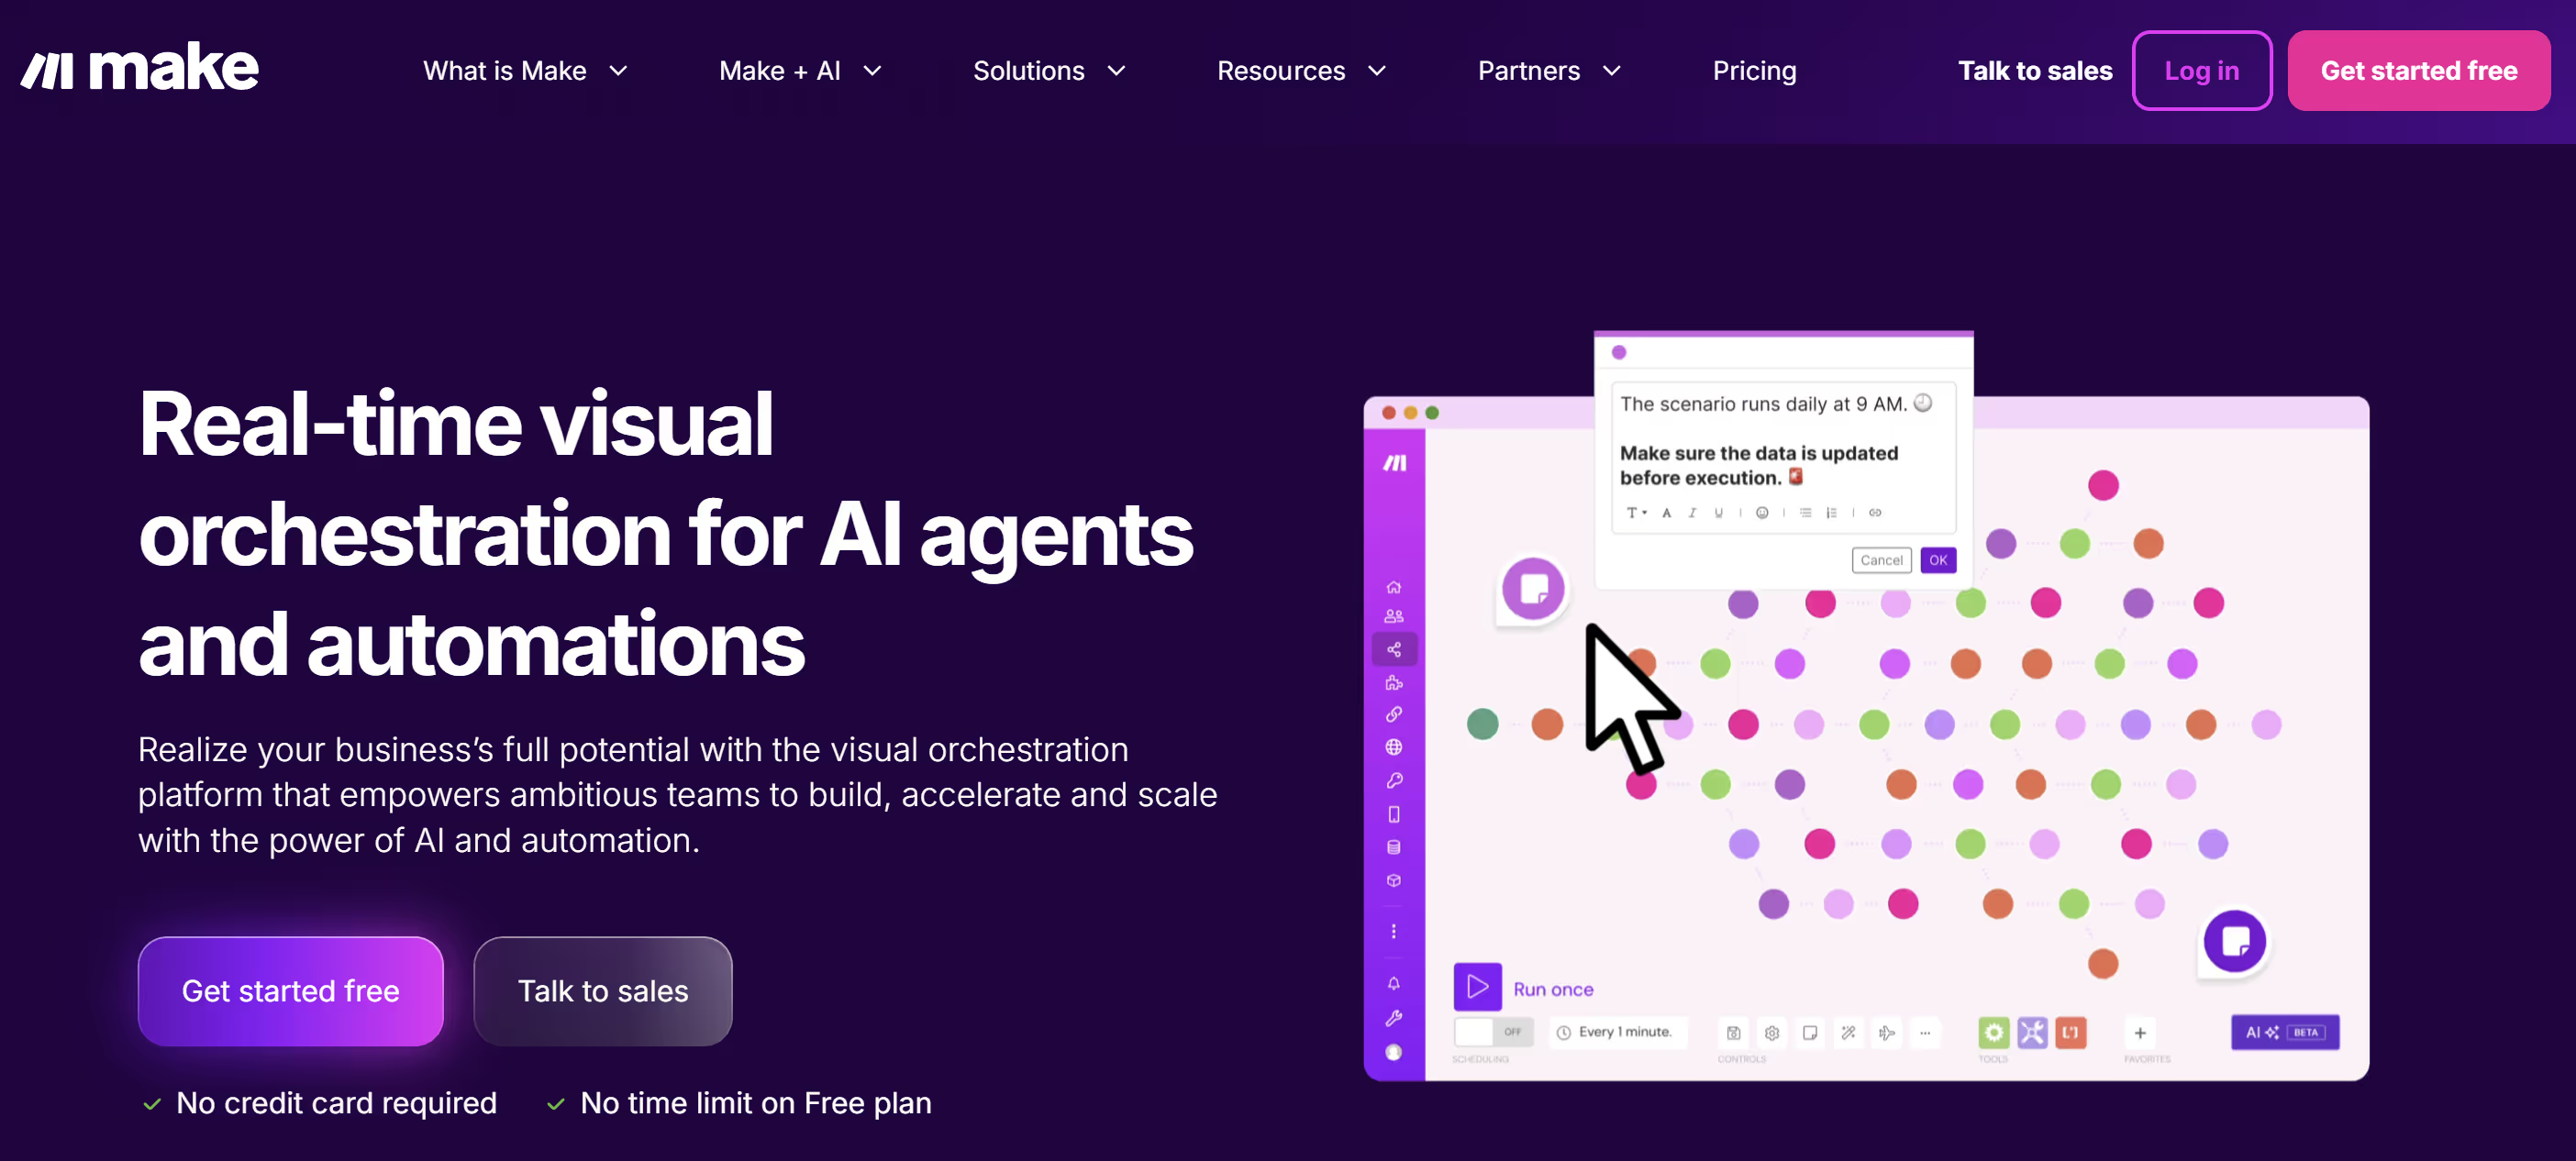
Option B: Make
Best for technical users who want advanced control and conditional workflows.
Pros:
- Robust visual builder with routers, filters, and data-array handling
- Supports multiple parallel actions in a single scenario
- More cost-effective at higher automation volumes
- Natively connects to Webflow via OAuth (no manual webhook setup required)
Cons:
- Slight learning curve
- Requires more setup time
Best for: Multi-step automations, complex data shaping, or enterprise workflows.
Option C: Webhooks or Custom Functions
For teams comfortable with code or managing multiple Webflow projects.
Pros:
- Total control over logic and security
- Can integrate directly with Webflow’s CMS API
- Lowest long-term cost at scale
Cons:
- Requires dev resources
- Must manage uptime, authentication, and error handling
Best for: Developers, SaaS teams, or agencies managing high-volume automations.
Step 3: Rebuild Common Workflows
Here’s how to rebuild the most common Logic automations.
Form → CRM (Zapier Example)
- In Zapier, choose Webflow → Form Submission as the trigger.
- Add filters or formatters to parse data (e.g., split full name).
- Add an action for your CRM (HubSpot, Salesforce, etc.).
- Map form fields to CRM fields.
- Test and publish.
Tip: Include hidden UTM fields in your Webflow forms for marketing attribution. Zapier automatically handles the webhook connection with no manual setup required.
Form → Multiple Destinations (Make Example)
- In Make, use Webflow → Watch Form Submissions as the trigger.
- Add a Router to branch logic by form type or user input.
- Add modules (Slack message, HubSpot contact, Google Sheet row).
- Add error handling or fallback alerts.
- Test with real data.
Tip: Label each route clearly. Make exposes the complexity Logic used to hide. As with Zapier, Make manages Webflow webhooks automatically when connected via OAuth.
CMS Automation (Make or Webhooks)
For workflows that create or update CMS items like partner submissions, event listings, or user-generated content:
- Use Make’s “Webflow → Create/Update CMS Item” module, or
- Build a serverless function that posts to the Webflow CMS API directly.
Tip: Set new CMS items to draft until approved, then automate publishing after review.
Note: Whether you’re using Zapier, Make, or custom code, all these workflows rely on Webflow events like Form Submission or CMS Item Created. Most users don’t need to configure webhooks manually, Zapier and Make handle that automatically, but if you’re building custom or multi-site automations, Webflow’s manual webhook setup gives you more control.
Step 4: Connect Webflow Events via Webhooks (Optional)
Not every automation requires a manual webhook setup, but understanding how they work helps you extend Webflow beyond Zapier or Make.
When You Don’t Need This Step:
If you’re using Webflow’s native integrations inside Zapier or Make, those tools automatically register webhooks behind the scenes.
For example:
- Zapier’s “Webflow → Form Submission” or “Item Created” triggers
- Make’s “Webflow → Watch Form Submissions” or “Watch CMS Items” modules
In these cases, Webflow events flow directly into your automation without any manual setup.
When You Do Need Manual Webhooks:
Manual setup is only necessary if you’re:
- Using a custom “catch-hook” trigger instead of the built-in Webflow app in Zapier or Make.
- Connecting Webflow to a custom API endpoint or internal tool.
- Building advanced automations (e.g., syncing CMS updates or e-commerce events) that need fine-grained payload control.
How to Add a Webhook Manually
- In Webflow, go to Project Settings → Integrations → Add Webhook.
- Select the event type (e.g., Form Submission, Item Created, E-commerce Order Created).
- Paste your endpoint URL—this could be:
- A Zapier Catch Hook,
- A Make Webhook URL, or
- A custom serverless function (AWS Lambda, Google Cloud Functions, etc.).
- Save and publish your site.
- Submit a live form or trigger the event to test that data reaches your endpoint.
- Log responses and monitor for failures or retries.
Tip: Think of webhooks as the trigger layer beneath all automations. Zapier and Make abstract it away, but when you outgrow those tools, this is the direct connection you’ll rely on.
Step 5: Test, Monitor, and Maintain
- Test every flow with real data before launch.
- Turn on error notifications in Zapier or Make.
- Document your integrations for future updates.
- Audit quarterly: check API keys, app connections, and user access.
Tip: Use staging domains (e.g., yourproject.webflow.io) to test flows safely before going live.
What This Means for Webflow’s Future
Sunsetting Logic isn’t a step backward, it’s a signal that Webflow is doubling down on what it does best: design, CMS, and performance.
Rather than competing with automation giants, Webflow is embracing a “best-in-class integration” philosophy.
In practice, this gives teams more flexibility. Zapier and Make already offer broader functionality than Logic ever did, and Webflow’s expanding App Marketplace ensures deeper, more stable connections over time.
For agencies and enterprise teams, this modular ecosystem powered by APIs and external automation may actually make Webflow more scalable than before.
Final Thoughts
If Logic was the heart of your site’s automations, it’s time to rebuild.
Third-party tools like Zapier and Make make it easy to replicate (and often improve) what Logic handled, while offering more visibility, security, and flexibility.
Thinking about rebuilding your Webflow automations? Let’s talk!