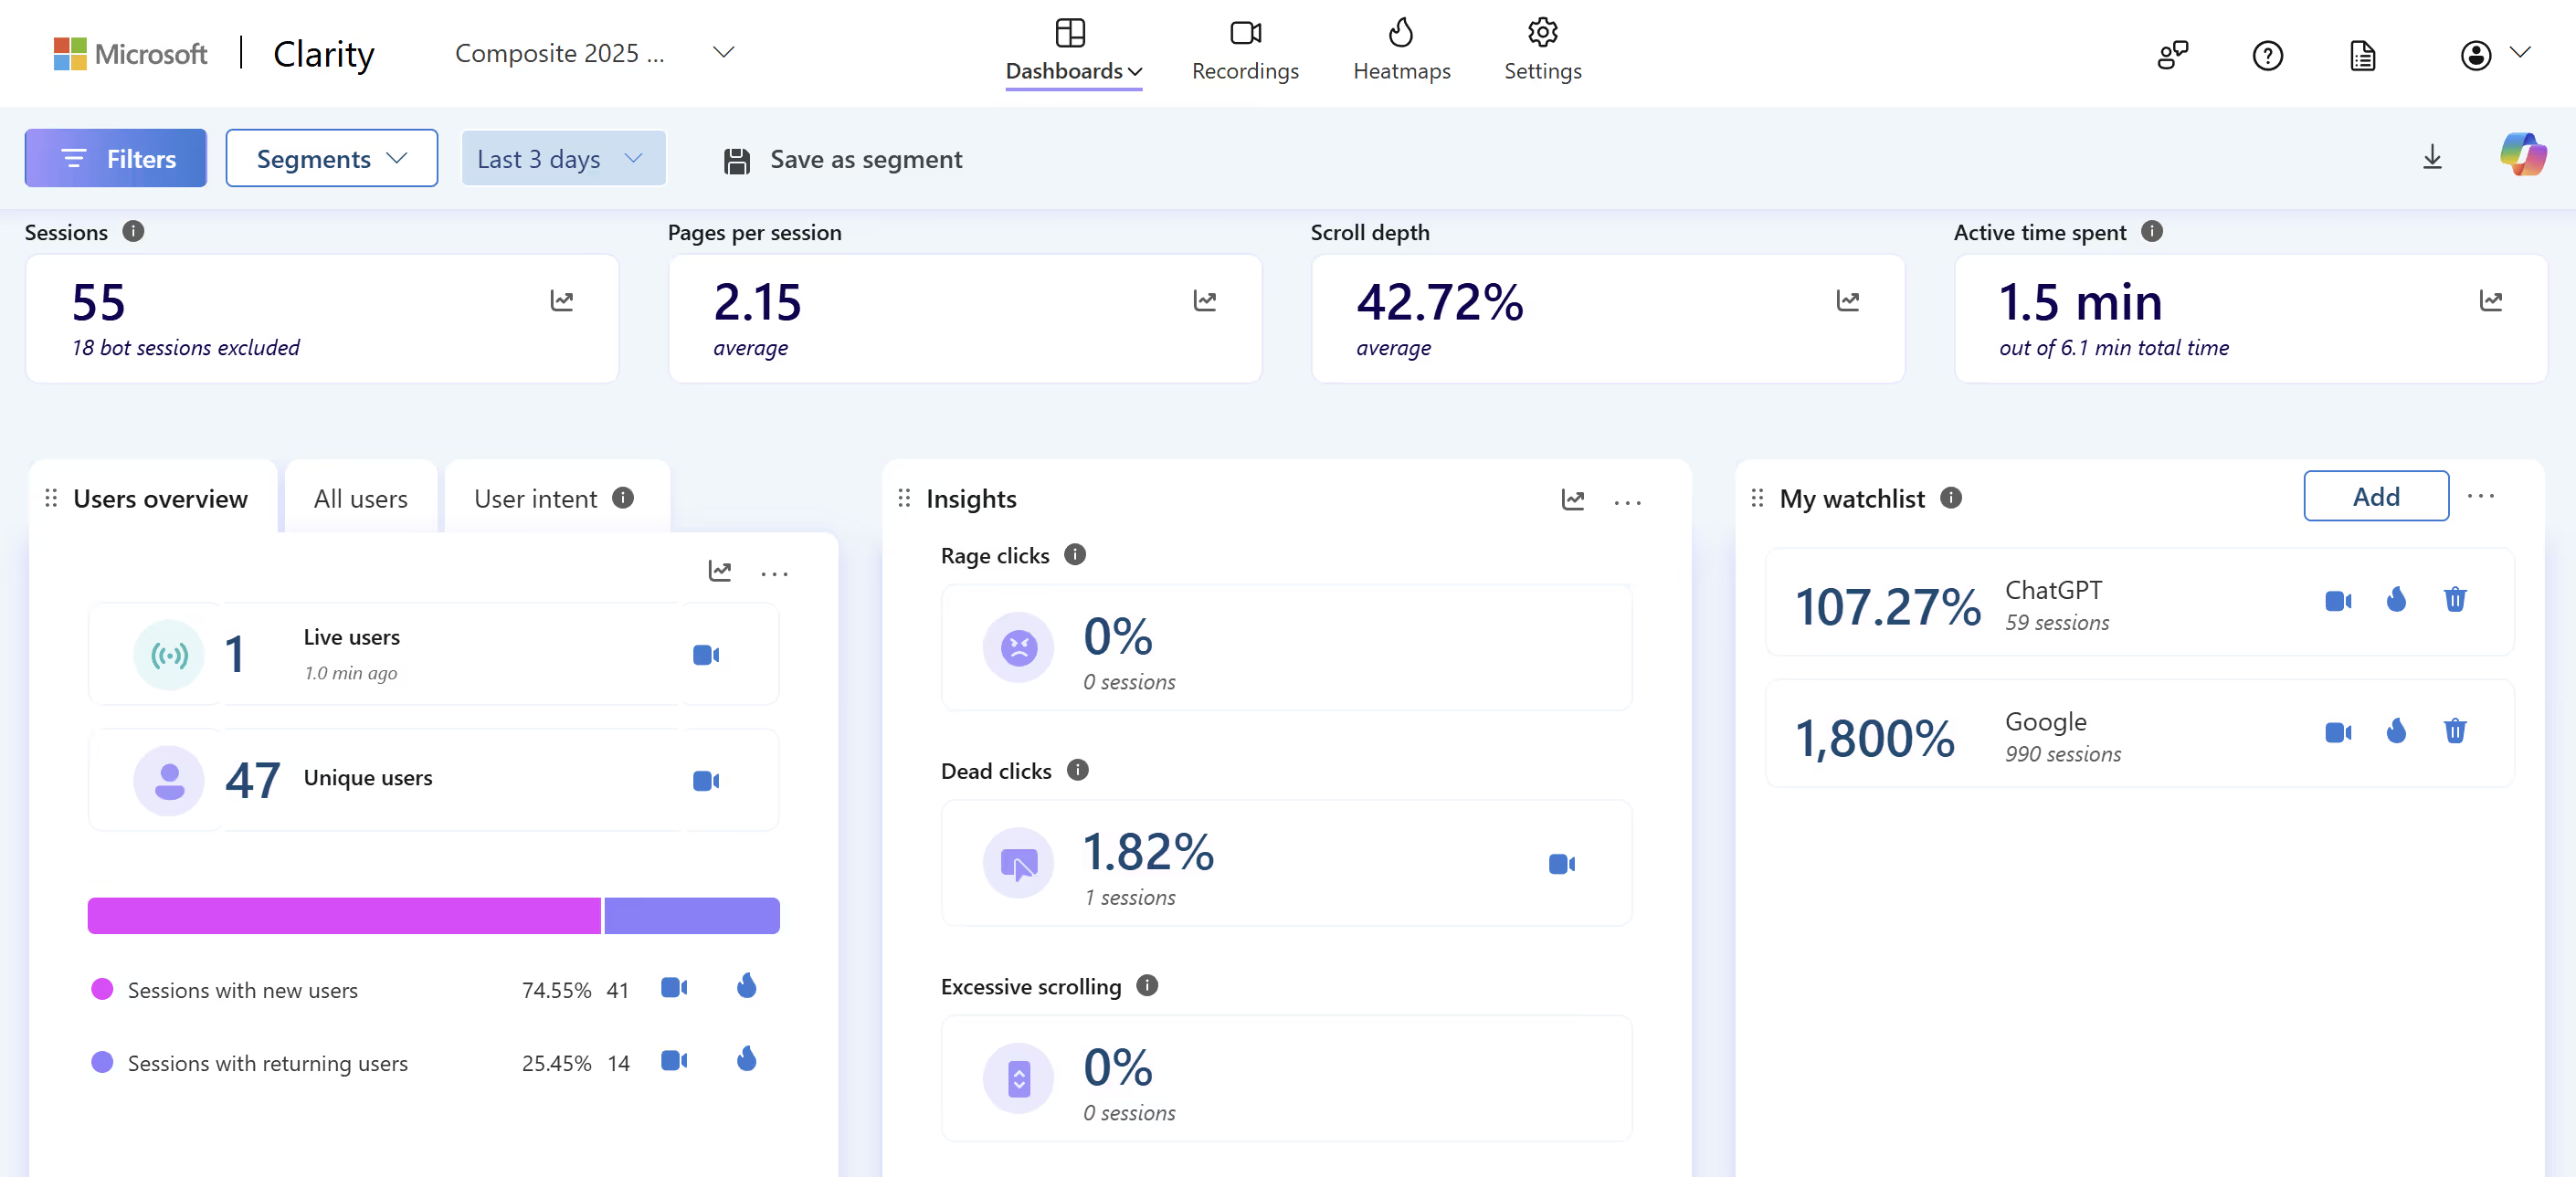
Microsoft Clarity is a free behavior analytics tool from Microsoft that helps you understand how visitors interact with your website. With features like heatmaps, session recordings, and AI-powered insights, it shows you not just what users are doing, but why.
That’s why integrating Clarity with Webflow is so valuable. By adding a single tracking script, you unlock unlimited analytics data that can highlight friction points, validate design decisions, and improve conversions.
As a Webflow Enterprise Partner, Composite regularly helps clients set up Microsoft Clarity alongside Webflow. This guide outlines how Clarity works, what you need to get started, and the best practices to make the most of its insights.
Here’s what we’ll cover:
- What is Microsoft Clarity?
- What you need to get started
- Techniques for integration
- Step-by-step: Install the Clarity tracking code
- Step-by-step: Verify installation
- Step-by-step: GTM workflow example
- Best practices for Webflow sites
- Common challenges with integration
What is Microsoft Clarity?
Microsoft Clarity is a free analytics platform released in 2020. Unlike traditional tools that focus only on pageviews and traffic, Clarity emphasizes behavior.
Key features include:
- Heatmaps – Visualize where users click, tap, and scroll.
- Session Recordings – Replay real user journeys to spot drop-offs or confusing UI.
- AI-Powered Insights – Automatic flags for rage clicks, dead clicks, quick backs, and excessive scrolling.
- Unlimited Data – No caps on traffic volume or number of recordings.
Clarity does not sample data, meaning every session can be tracked. It’s also fully compliant with GDPR and CCPA, making it safe to use across regions.
What You Need to Get Started
- A published Webflow site.
- A free Microsoft Clarity account (sign up at clarity.microsoft.com).
Optional:
- A Google Tag Manager (GTM) account if you want to manage scripts centrally.
- Defined analytics goals (e.g., measure form abandonment, analyze CTA clicks).
Consent & Privacy Considerations
Because Clarity records real user sessions, it’s important to think about consent and privacy:
- Compliance: Clarity is GDPR, CCPA, and LGPD compliant, but you should still display a consent banner if you collect personal data.
- Consent API: Clarity provides a consent API you can use to block tracking until a user opts in.
- Starting October 31, 2025, Clarity will enforce consent signal requirements for page visits from the European Economic Area (EEA), United Kingdom (UK), and Switzerland (CH). A valid consent signal is required to ensure full functionality of Clarity features for users in these regions.
- Masking sensitive elements: You can configure elements (like passwords, emails, or credit card fields) to be masked or hidden from recordings. In Webflow, add data-clarity-mask="true" to the element.
Techniques for Integrating Clarity Into Your Site
There are three major approaches to integrate Microsoft Clarity, depending on your setup, technical comfort level, and use-case:
- Marketplace / Third-Party App Integration (Easiest for Most Users)
Many platforms, including Webflow, WordPress, and Shopify, now support Clarity through marketplace apps or third-party integrations. These let you connect your site to Clarity without touching code. Just install the app, authenticate, and you’re live.- Pros: Fast setup, minimal maintenance, no coding required
- Cons: Limited flexibility compared to manual or custom installs
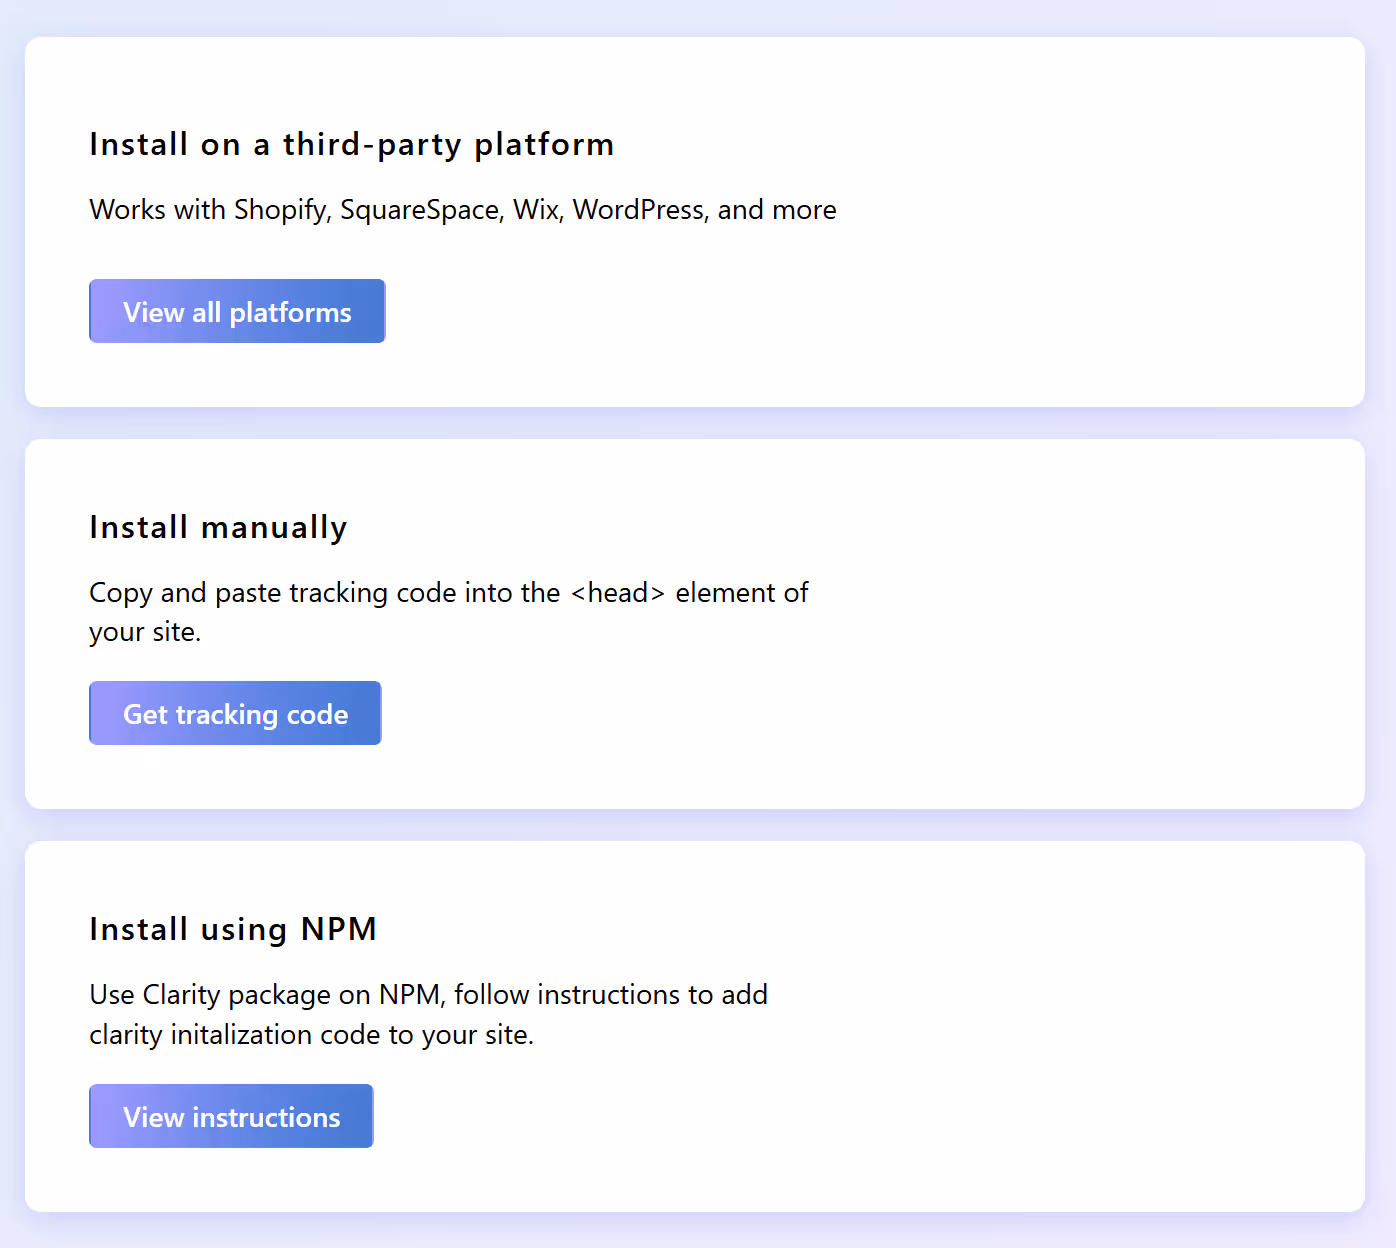
- Manual Code Embed
Copy your Clarity JavaScript snippet and insert it into your site’s<head>section via Project Settings → Custom Code in Webflow. After saving, publish to activate.- Pros: You control placement and loading logic
- Cons: You must manage and update it manually
- NPM / JavaScript Library Integration
For web apps or frameworks (e.g. React, Next.js), you can use the @microsoft/clarity package or similar to programmatically initialize Clarity, control when it starts, and integrate with routing or state.- Pros: More control, dynamic loading, better for SPAs
- Cons: More complex, not ideal for pure static Webflow builds
Masking Sensitive Data
By default, Clarity hides sensitive fields like passwords, but you may need to mask others:
- Mask: Add data-clarity-mask="true" to any element you don’t want recorded (e.g., form fields with personally identifiable info).
- Hide: Use data-clarity-unmask="true" if something was masked by default but you want it visible.
- Global settings: In Clarity’s dashboard, you can adjust masking preferences across your site.
Step-by-Step: Install Microsoft Clarity in Webflow
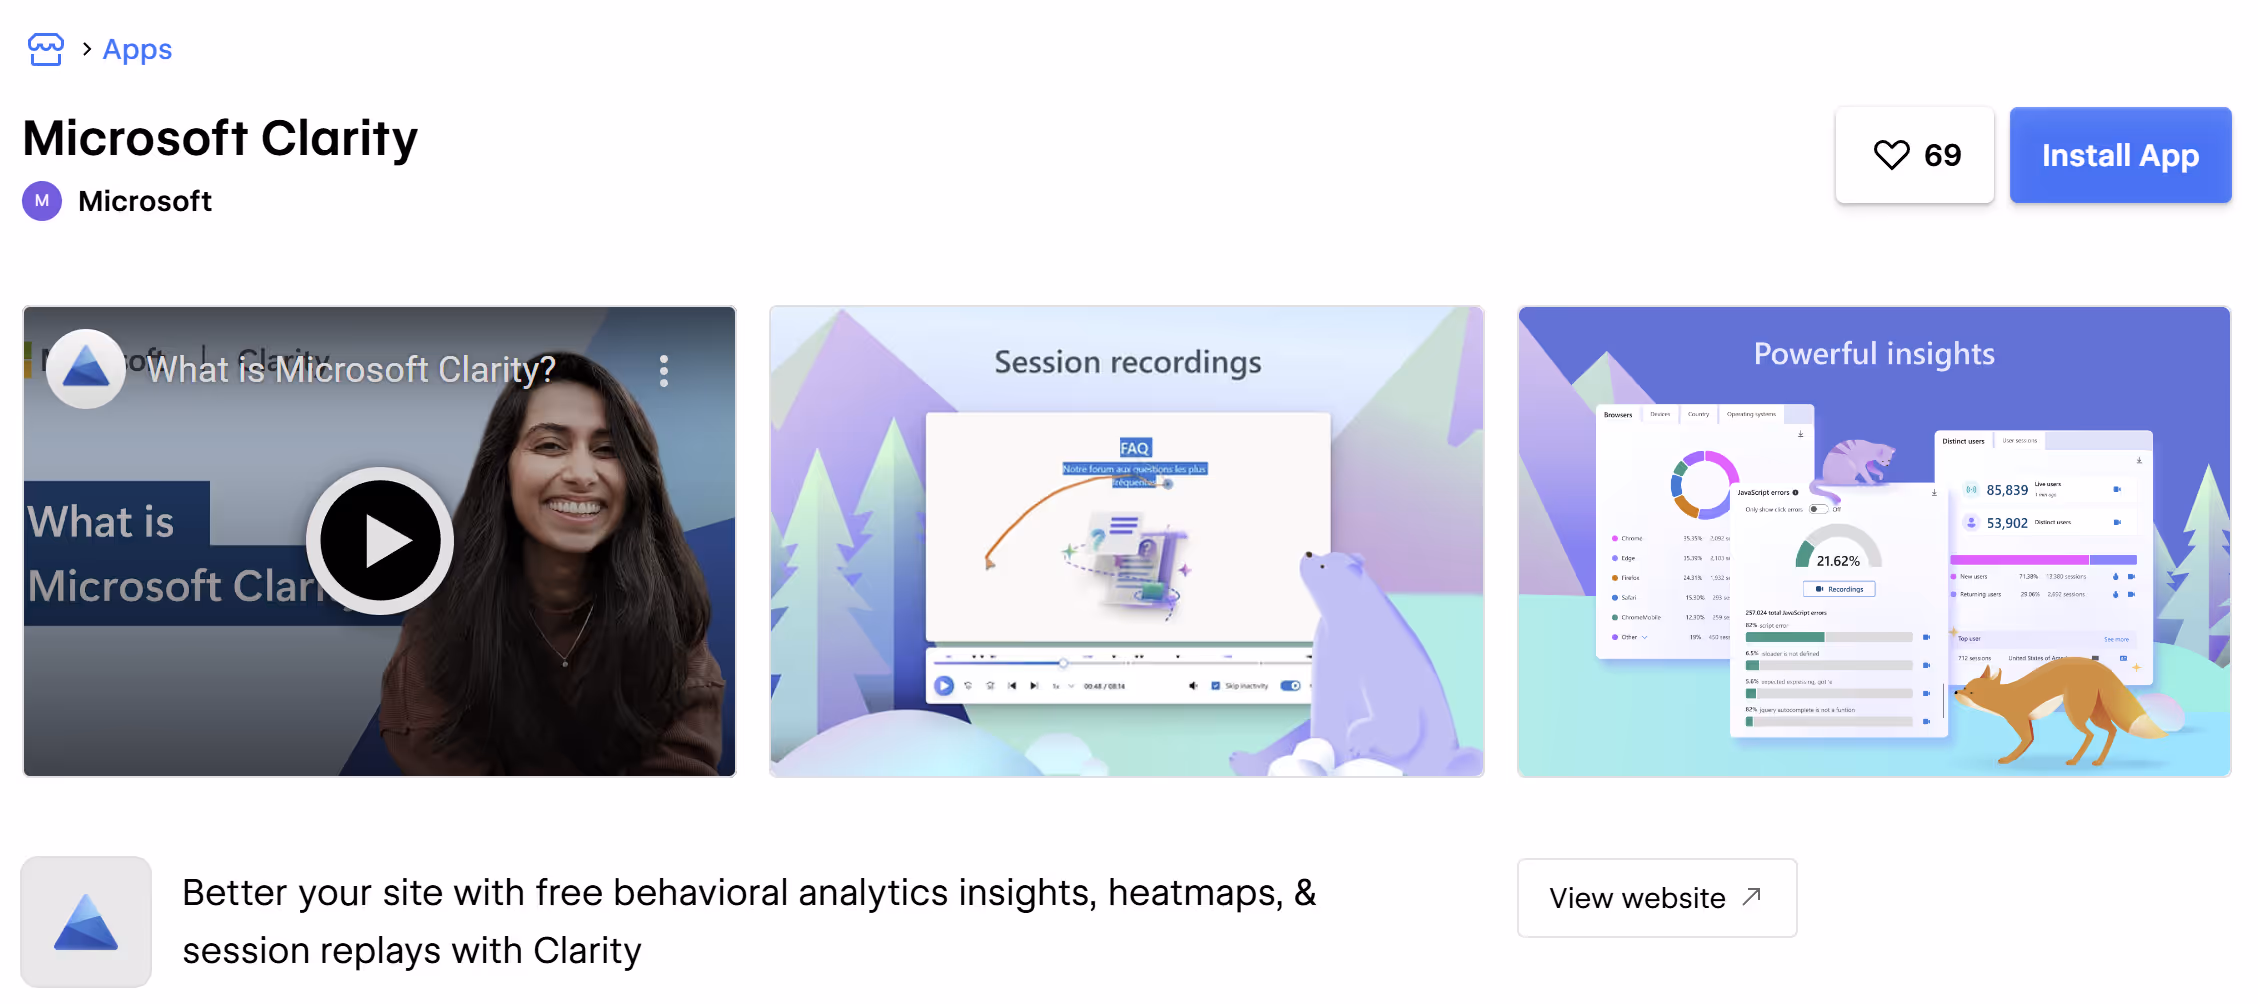
- Install the app from Webflow Marketplace
In the Webflow Marketplace, search for Microsoft Clarity and click Install.
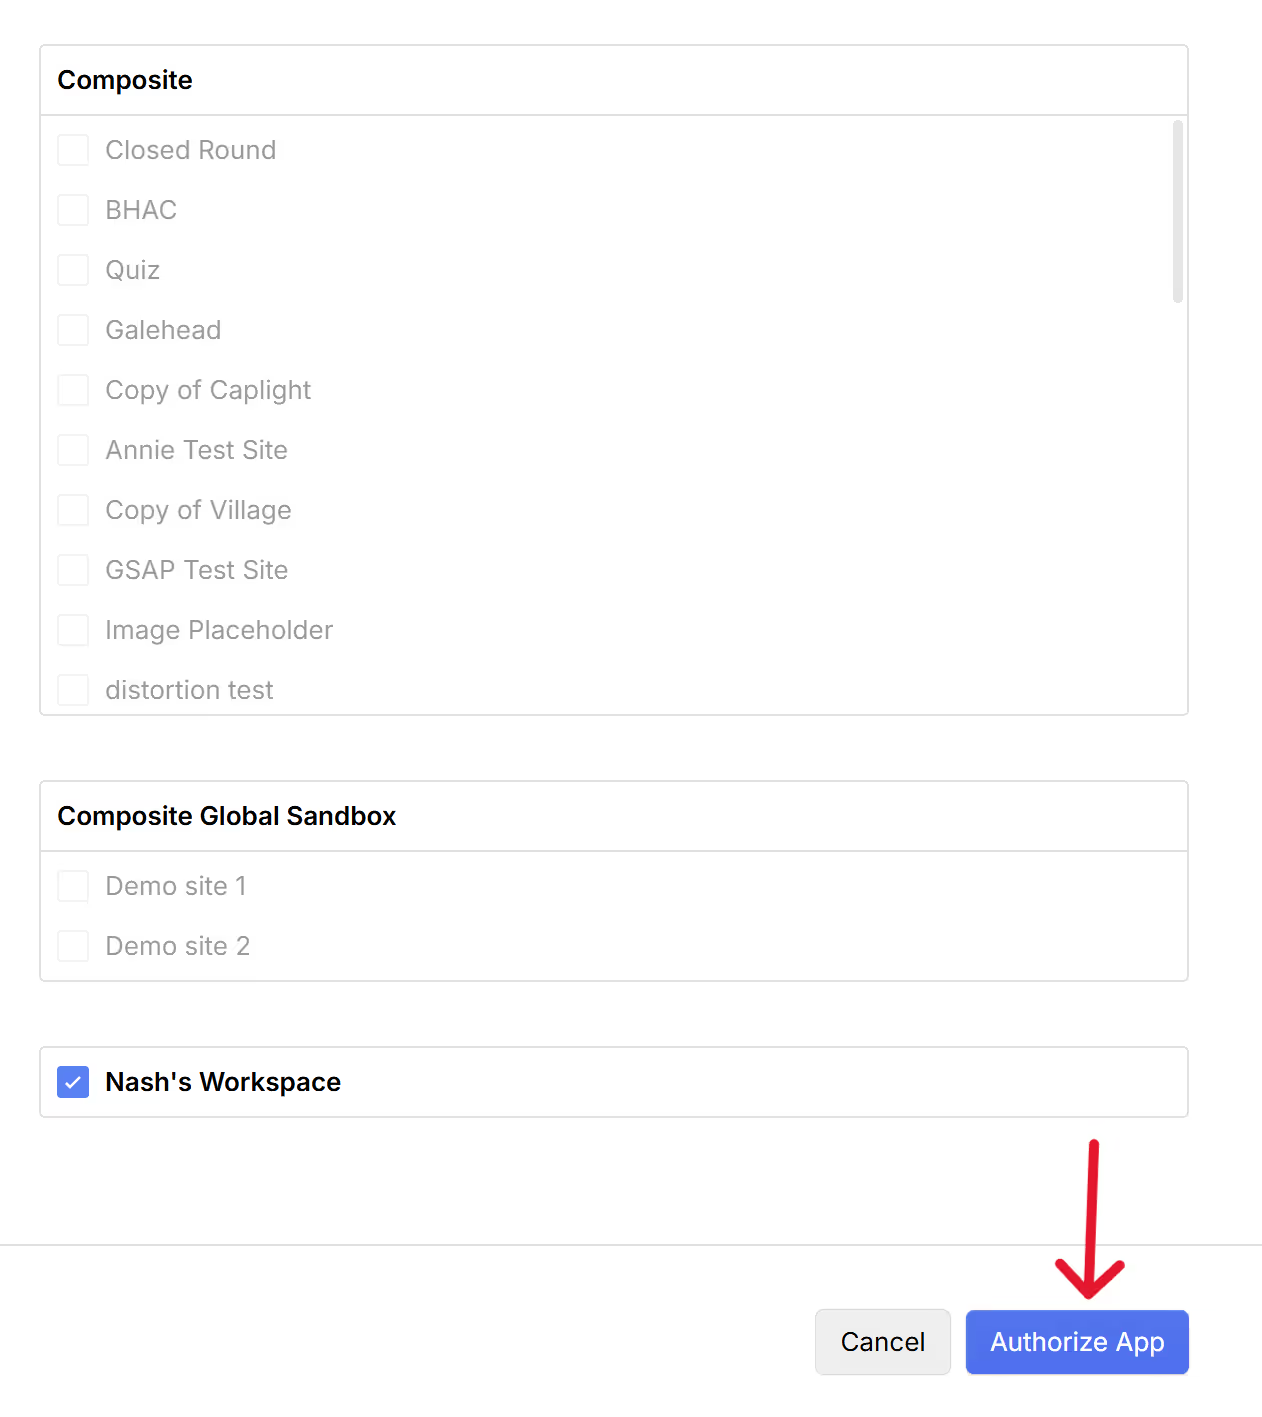
- Choose where to install
Select the workspace or the specific site(s) you want to connect. (Microsoft notes you can add it to a whole workspace or a single site and they recommend not choosing more than about 5 sites at once.)
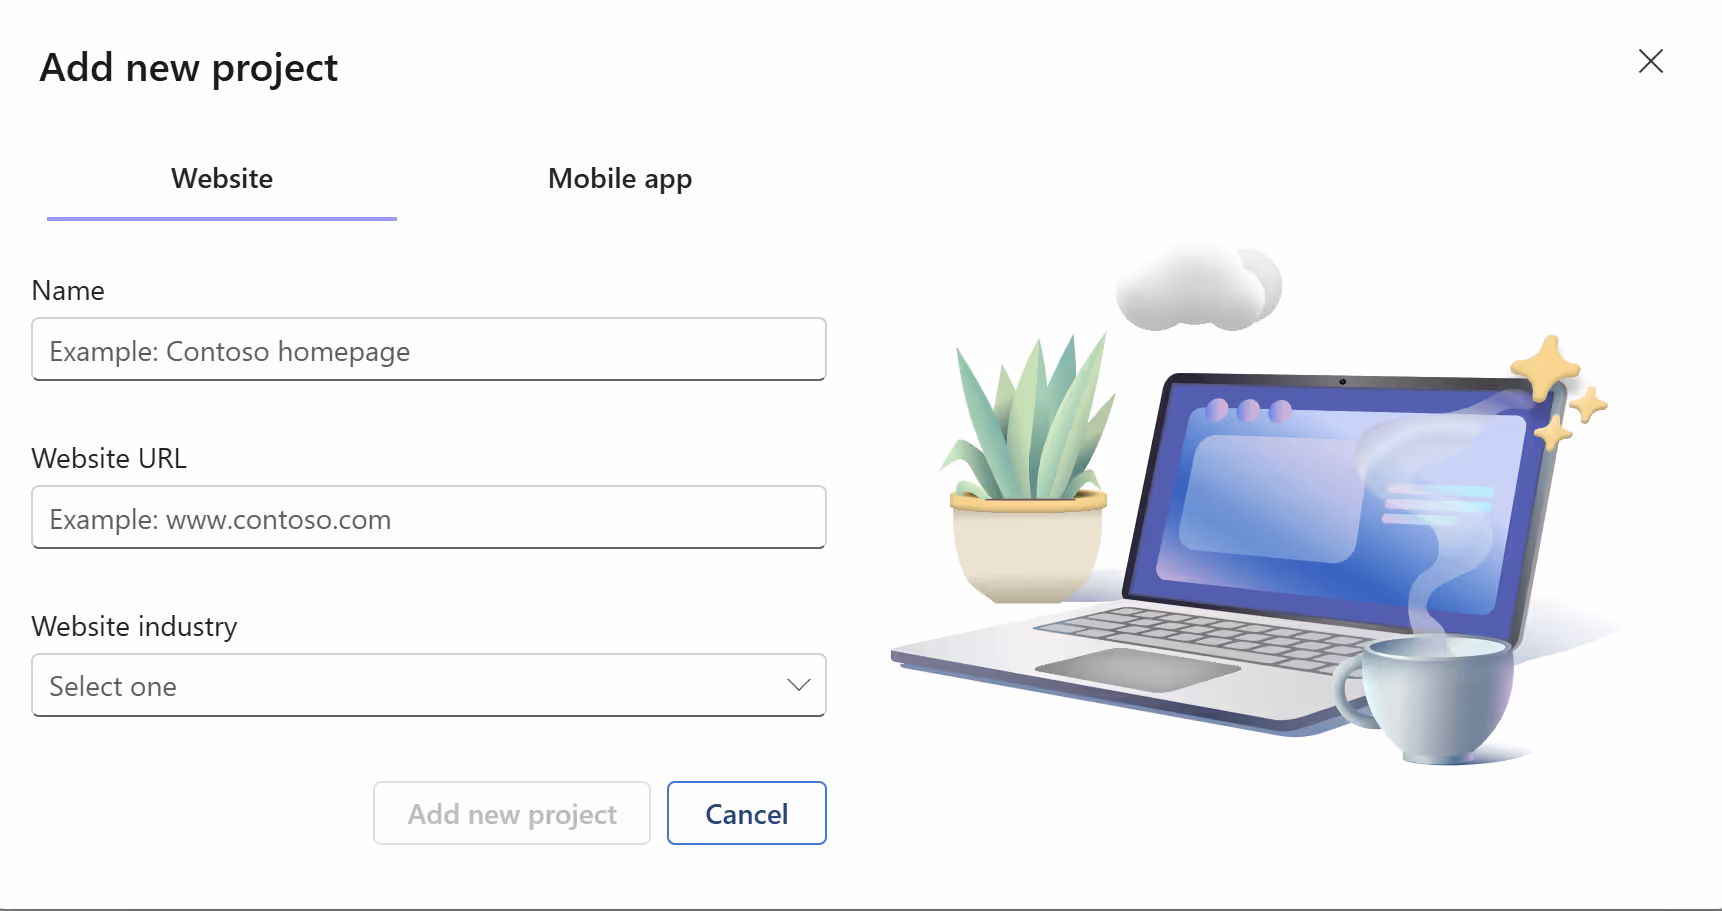
- Sign in to Clarity and create/link a project
When prompted, Sign in / Sign up to Clarity, then either Add a new project (enter project name, site URL, industry) or Link an existing project.
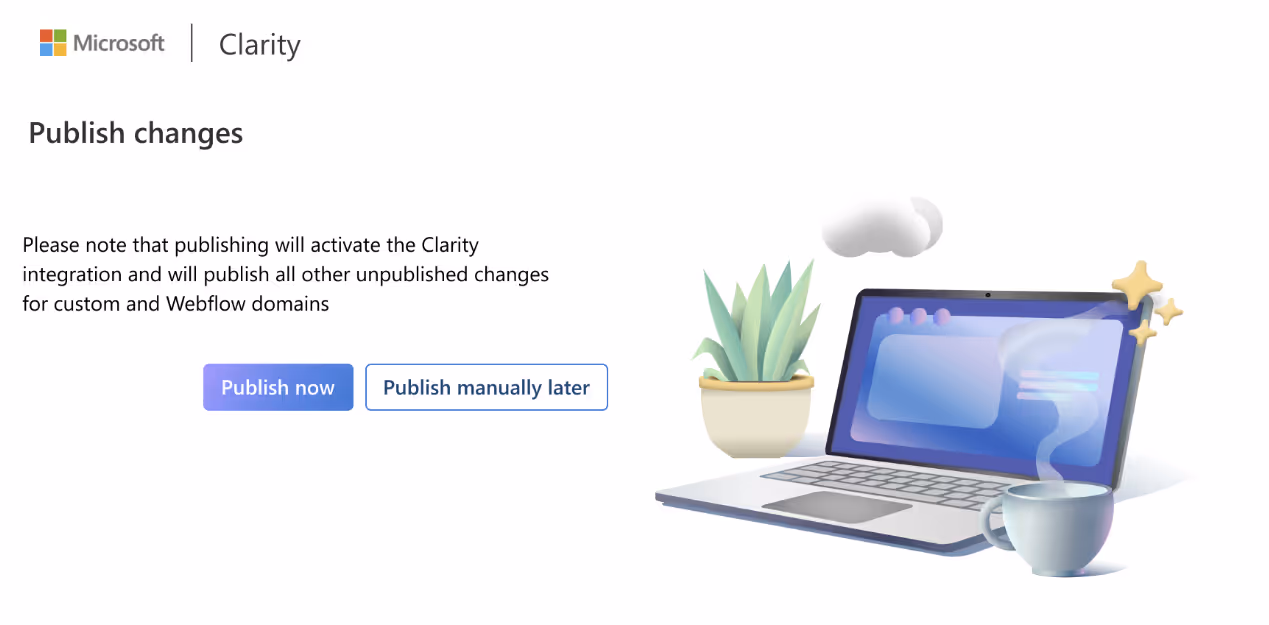
- Publish to activate
Publish your Webflow site to activate the integration. After publishing, you can go to Designer → Connected apps and see Clarity listed; launching it opens your Clarity project (Dashboard, Recordings, Heatmaps).
Verify It’s Working (recommended)
Check Clarity in real time: Open your Clarity Dashboard/Recordings and you should start seeing data shortly after publishing.
Block Internal Traffic
To keep your data clean, make sure to exclude your own team’s visits from Clarity reports. In the Clarity dashboard, you can block specific IP addresses so that internal testing, QA sessions, or client reviews don’t skew your heatmaps and recordings. This ensures your insights reflect real user behavior, not your development workflow.
Step-by-Step: GTM Workflow Example
- In GTM, create a new tag → “Custom HTML.”
- Paste the Clarity snippet.
- Set the trigger to “All Pages.”
- Save, publish, and test.
This method is helpful if you manage multiple scripts across many sites.
Single-Page Applications (SPAs) and Dynamic Content
If your Webflow site uses page transitions (no reloads) or is structured like an SPA, you may need to help Clarity recognize “virtual pageviews.”
- Use the Clarity API’s clarity("event", "page_change") to manually track when a new view is loaded.
- This ensures accurate heatmaps and session recordings, even when the page doesn’t fully reload.
Best Practices for Webflow Sites
- Install early – Collect baseline behavior data from day one.
- Segment heatmaps – Review separately for product pages, landing pages, and blogs.
- Cross-reference with Webflow Analyze – Use Clarity for behavior patterns and Webflow Analyze for business outcomes.
- Act quickly on AI signals – Rage clicks or excessive scrolling point to UX issues.
- Pair with A/B testing – Use Clarity insights to guide experiments in Webflow Optimize.
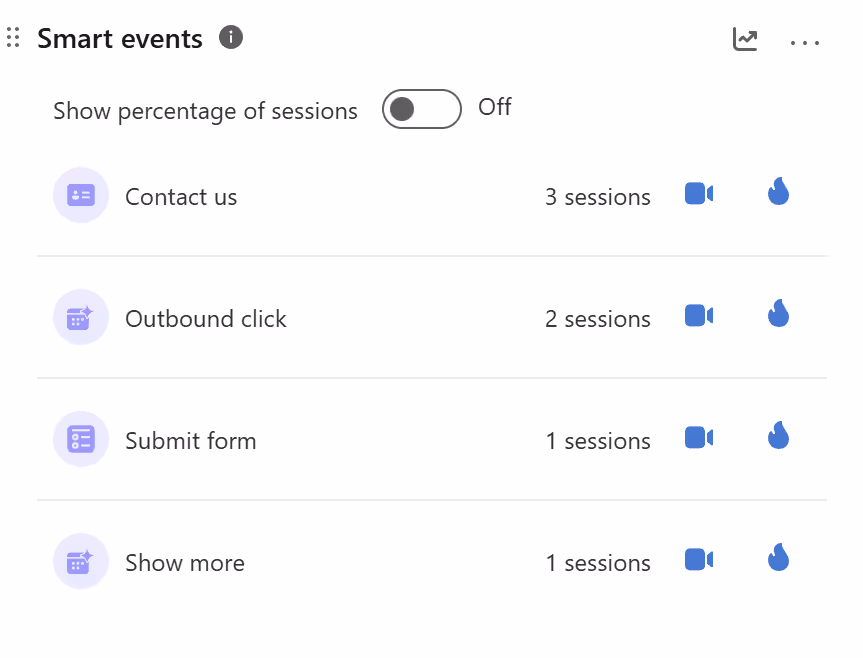
Smart Events & Custom Tracking
Clarity lets you go beyond standard heatmaps and recordings by defining Smart Events:
- Track clicks on specific buttons (e.g., “Sign Up” or “Buy Now”).
- Measure when users scroll to a certain depth.
- Flag when users submit a Webflow form.
- Combine these with session recordings to better understand user journeys.
You can create Smart Events directly in the Clarity dashboard under Settings → Smart Events.
Data Retention & Monitoring
Clarity retains session data for 30 days from the time of recording. After that, recordings and heatmaps expire.
- For long-term trend tracking, export reports regularly.
- Monitor dashboards weekly to catch new friction points before they become conversion blockers.
Common Challenges
- No data showing – Make sure you published your site after adding the script.
- Overwhelming volume – Use Clarity filters (device type, location, referrer) to surface meaningful patterns.
- Styling forms – Session recordings may reveal friction in forms; test variations for accessibility and completion rates.
- Client education – Some stakeholders may misinterpret heatmaps; always tie insights back to conversion goals.
Conclusion
Integrating Microsoft Clarity with Webflow is one of the fastest, most cost-effective ways to improve site performance. With unlimited free data, AI-driven behavior insights, and seamless setup, Clarity helps teams move from guessing to knowing why users act the way they do.
At Composite, we’ve seen how pairing Clarity with Webflow leads to smarter design decisions and higher conversions. It’s a must-have in any modern Webflow analytics stack.
If you're looking for a Webflow developer in NYC or are thinking about integrating Clarity with Webflow, let’s talk.