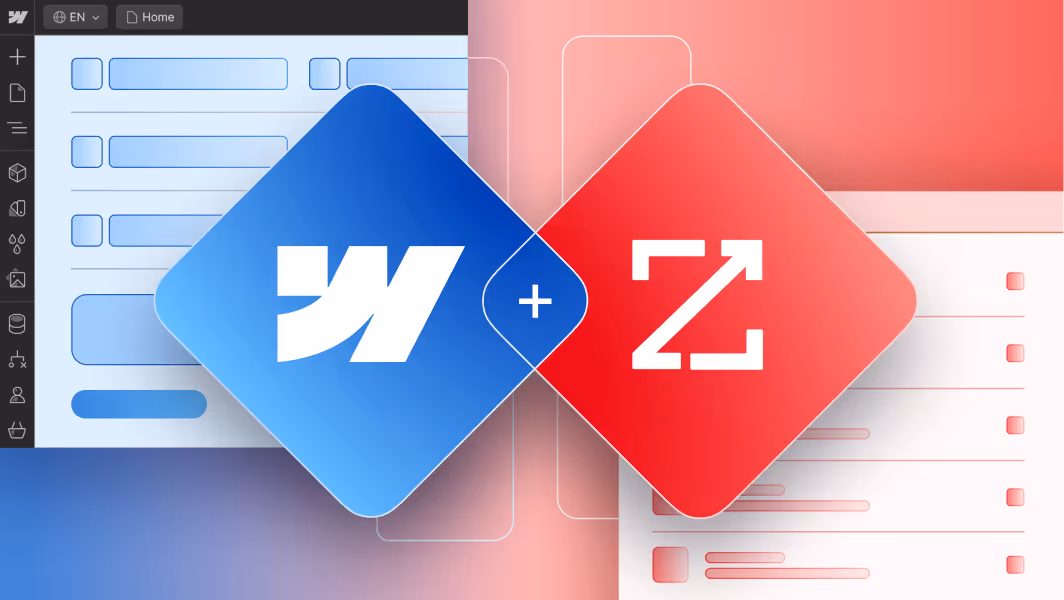
HubSpot is a leading inbound marketing, CRM and automation platform, offering tools for capturing leads, managing contacts, automated workflows, analytics, and more. Webflow, on the other hand, is where design flexibility thrives by letting teams craft fully customized front-end sites without being locked into templated systems.
By integrating HubSpot with Webflow, brands can get the best of both worlds: Webflow’s design precision and HubSpot’s marketing/CRM infrastructure. Whether you’re running a landing-page heavy campaign, developing a content hub, or managing full marketing automation, connecting the two platforms helps streamline workflows and elevate your digital presence.
This guide walks through different integration options, their pros and cons, and when to choose each, along with best practices for maintaining performance, data integrity, and consistent experiences across both systems.
Here’s what we’ll cover:
- What is HubSpot and why integrate it with Webflow
- What you need to get started
- Techniques for integration
- Step-by-step: Using the Webflow HubSpot App
- Step-by-step: Embedding code / manual integration
- Step-by-step: API or middleware integration
- Best practices for HubSpot + Webflow
- Common challenges and troubleshooting
- Conclusion
What is HubSpot and Why Integrate It with Webflow
HubSpot is an all-in-one marketing, sales and service platform that provides CRM, automation, email marketing, lead capture, analytics, and more. It enables businesses to centralize their contact data, track customer journeys, run marketing campaigns and automate follow-up workflows.
Webflow, on the other hand, excels at front-end design and CMS flexibility. It gives you full visual control, allows you to build custom sites (landing pages, brand sites, microsites) with rich interactions and content management, without being locked into rigid templates or theme frameworks.
Integrating HubSpot with Webflow allows you to:
- Use HubSpot for lead capture, contact management, automation and analytics, while maintaining Webflow’s visual freedom.
- Embed HubSpot forms, chatbots, and tracking into your Webflow site so that submissions, visits, behavior flow into HubSpot.
- Map your Webflow site’s forms and tracking to HubSpot properties, so your marketing and CRM data stays unified.
- Leverage Webflow’s design precision for your front‐end site while off-loading marketing/CRM backend work to HubSpot.
- This setup is ideal for brands that want to keep a custom Webflow site (for content, brand, experience) while still capturing and nurturing leads, tracking behavior, and running workflows via HubSpot.
What You Need to Get Started
Before you begin, make sure you have:
- A HubSpot account (at least the free CRM; certain features may require Marketing Hub or other paid tiers depending on your needs).
- A Webflow site (with a paid Site plan if you're using custom code embeds, tracking code or integrations).
- Access (admin or appropriate permissions) in both HubSpot and Webflow to install apps/integrations or add custom code.
- A basic understanding of Webflow’s Designer, project settings (Custom Code, Apps & Integrations), and how form fields and websites are structured.
- Optional but useful: familiarity with mapping form fields, CRM properties in HubSpot, UTM tracking and analytics measurement.
Techniques for Integrating HubSpot with Webflow
There are three primary methods to integrate HubSpot with Webflow, depending on your goals and technical comfort level.
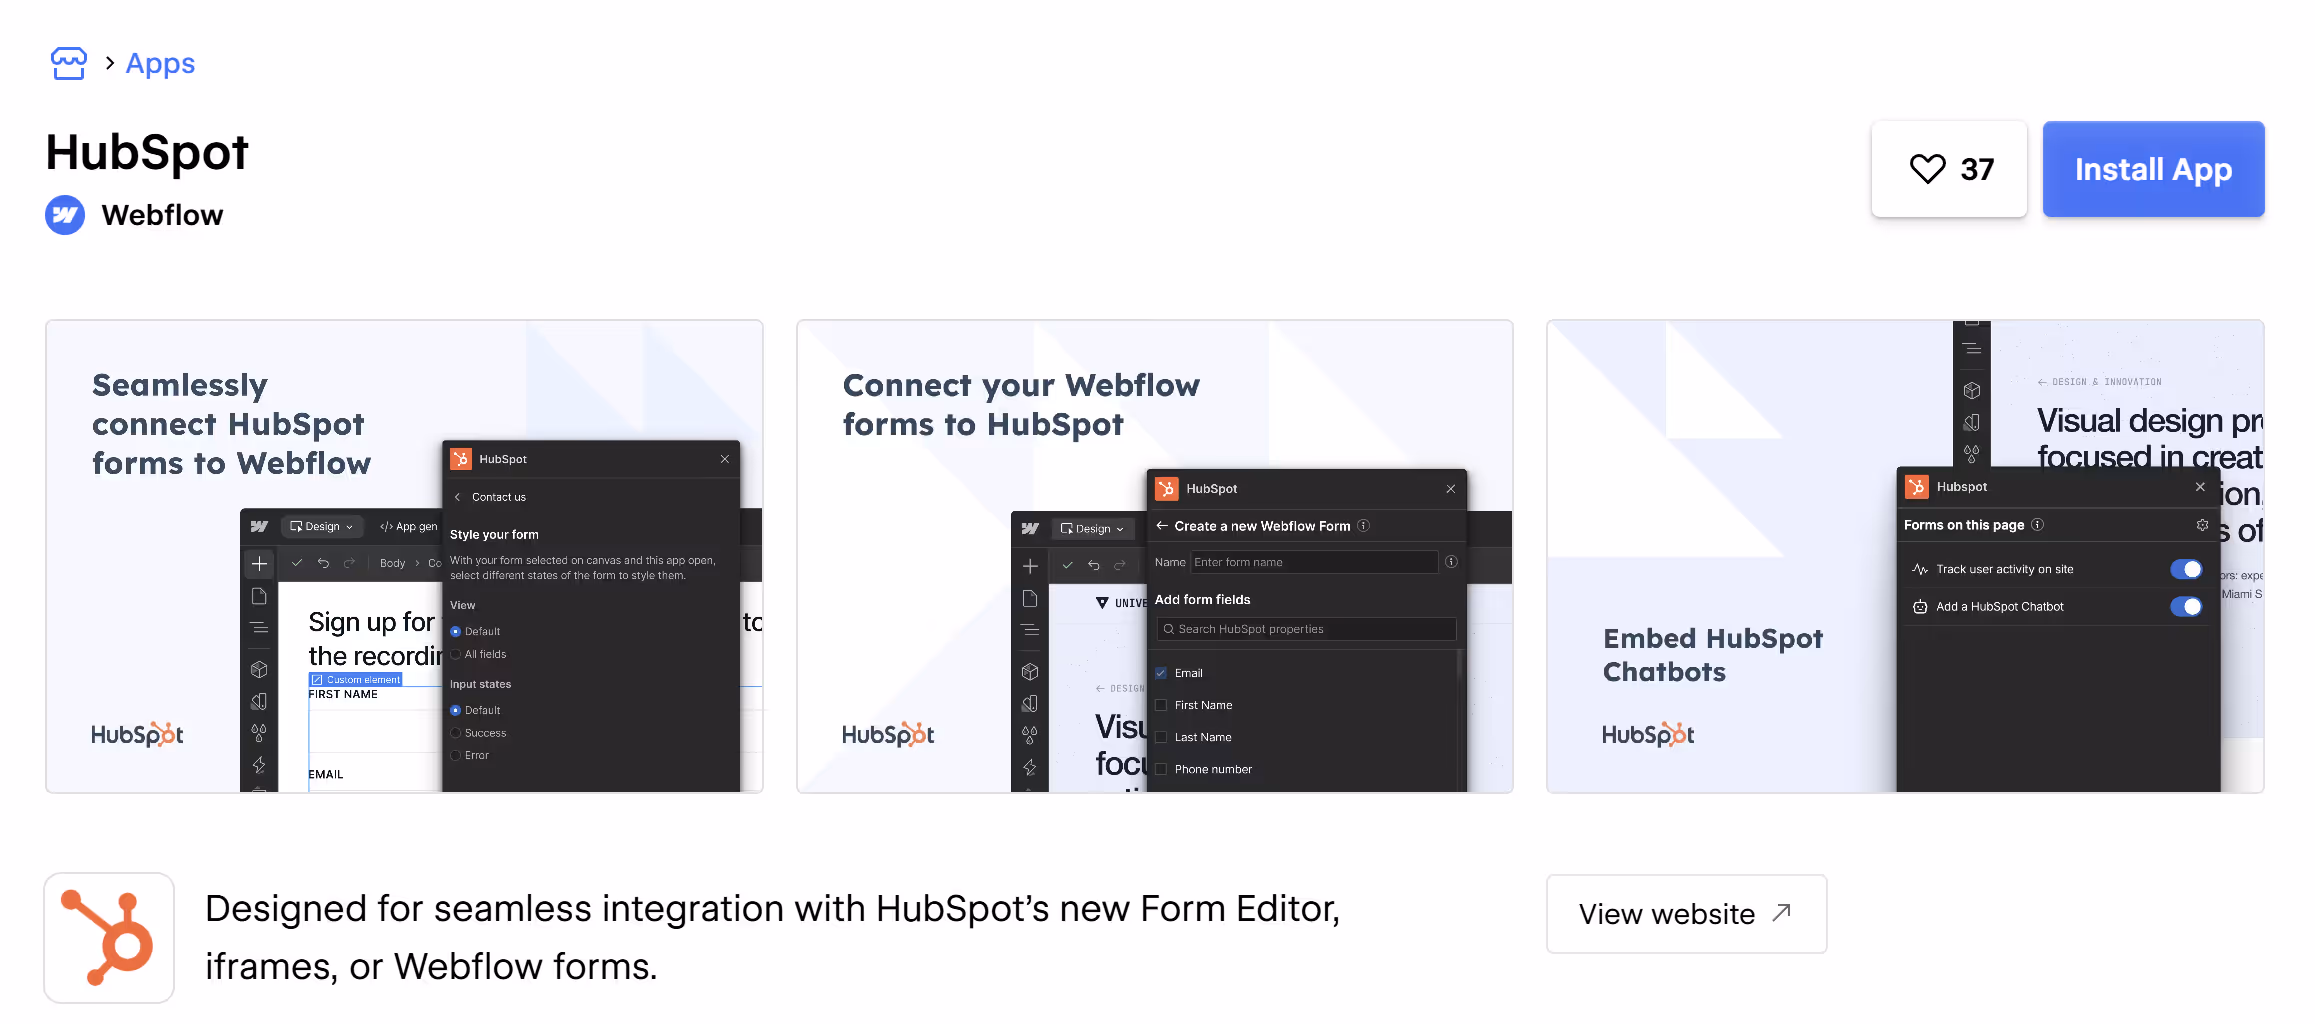
1. Using the Webflow HubSpot App (Recommended for Most Users)
The easiest path is to use the official HubSpot app available in the Webflow marketplace. This provides a streamlined, no-/low-code method to connect core capabilities.
Implementation Steps:
- In Webflow, install the HubSpot app: go to the Webflow Marketplace, find the “HubSpot” app and click Install app.
- Choose the Webflow site you wish to connect to HubSpot.
- Authorize the app: it will ask for HubSpot account access and permissions (scopes) for the selected site.
- Launch the integration in Webflow Designer: Open the Apps panel, hover over the HubSpot app and click Launch.
- Use the app’s functionality:
- Embed and style HubSpot forms: Select an existing HubSpot form, choose whether to inherit HubSpot styling or use your own unstyled version, then add it into the Webflow Designer. The unstyled form option allows you to match your site’s typography, spacing, and colors directly inside the Designer, giving you far more control than traditional embed methods.
- Map existing Webflow forms to HubSpot: If you use Webflow’s native forms but want the data in HubSpot, you can map your Webflow form fields to HubSpot form fields.
- Add HubSpot assets to your Webflow site: Import images/videos/assets from HubSpot into Webflow pages.
- Enable site-wide HubSpot tracking code: Add the HubSpot tracking snippet via the app so HubSpot can track pageviews, form submissions, etc.
- Embed a HubSpot chatbot: Use the code or built-in functionality to add HubSpot’s chat widget to your Webflow site.
- Publish your Webflow site so changes go live.
Pros:
- Fast to set up, minimal code or dev required.
- Officially supported by both platforms, reducing risk.
- Good for use cases where form capture, tracking and basic mapping suffice.
Cons:
- Some advanced customization (complex field logic, advanced workflows, deeply custom forms) may still require custom code.
- Depending on your HubSpot tier, some features may be limited or require upgrades.
- Styling may require extra CSS/overrides to achieve perfect integration across breakpoints.
Best for:
Brands that want to integrate marketing/CRM with their Webflow front-end quickly, with minimal developer overhead, and primarily need lead capture + tracking rather than full backend automation.
2. Embed or Code-Based Integration (Legacy or Simple Use Case)
If your priority is keeping HubSpot’s native connections and built-in tracking, code embeds are a quick and reliable way to integrate. This method uses HubSpot’s generated form code or script snippets, which automatically handle submission tracking, cookie syncing, and contact attribution inside your CRM.
Because these embeds connect directly to HubSpot, setup is often faster and requires less configuration than mapping Webflow forms through the app or middleware tools.
Implementation Steps:
- In HubSpot: Create or select the form, chatbot, CTA or other asset you wish to embed. Get the embed code or share URL.
- In Webflow: Use an Embed component or add custom code in Project Settings > Custom Code (e.g., head or footer). Paste the HubSpot snippet.
- For forms: In Webflow Designer, add an Embed element where you want the form, and paste the HubSpot embed code.
- For chatbots/tracking: Add the HubSpot tracking script in the head or footer of your site, then publish so that HubSpot can capture visitor behavior.
- (Optional) If desired, style the form/embedded elements via CSS in Webflow, or adjust with custom selectors.
- Publish and test: Submit a test form, monitor in HubSpot to ensure submissions are captured, tracking is firing, chatwidget appears, etc.
- If using Webflow forms mapped to HubSpot (rather than full embeds), refer to Webflow’s “mapping Webflow forms to HubSpot” workflow.
Pros:
- Keeps native HubSpot tracking and analytics intact by using HubSpot’s original embed scripts.
- Simpler setup than custom APIs or mapped workflows.
- Works out of the box with HubSpot’s form features (e.g., progressive fields, hidden tracking fields, contact association).
Cons:
- Harder to style—embedded forms load inside an iframe and don’t automatically inherit your site’s design system. Custom CSS overrides or HubSpot’s “unstyled” embed option are required for full control.
- While embeds keep native HubSpot analytics intact, they’re more difficult to restyle and customize compared to forms added through the Webflow HubSpot App.
- Limited flexibility—adding custom scripts or additional logic to embedded forms can be difficult without rebuilding them as fully custom forms with HubSpot’s APIs.
- Can feel disconnected from Webflow’s design workflow, since edits must be made in HubSpot rather than in the Designer.
Best for:
Teams that want HubSpot’s built-in tracking, attribution, and CRM connection with minimal configuration, and don’t mind giving up some styling flexibility in exchange for a faster, more native integration.

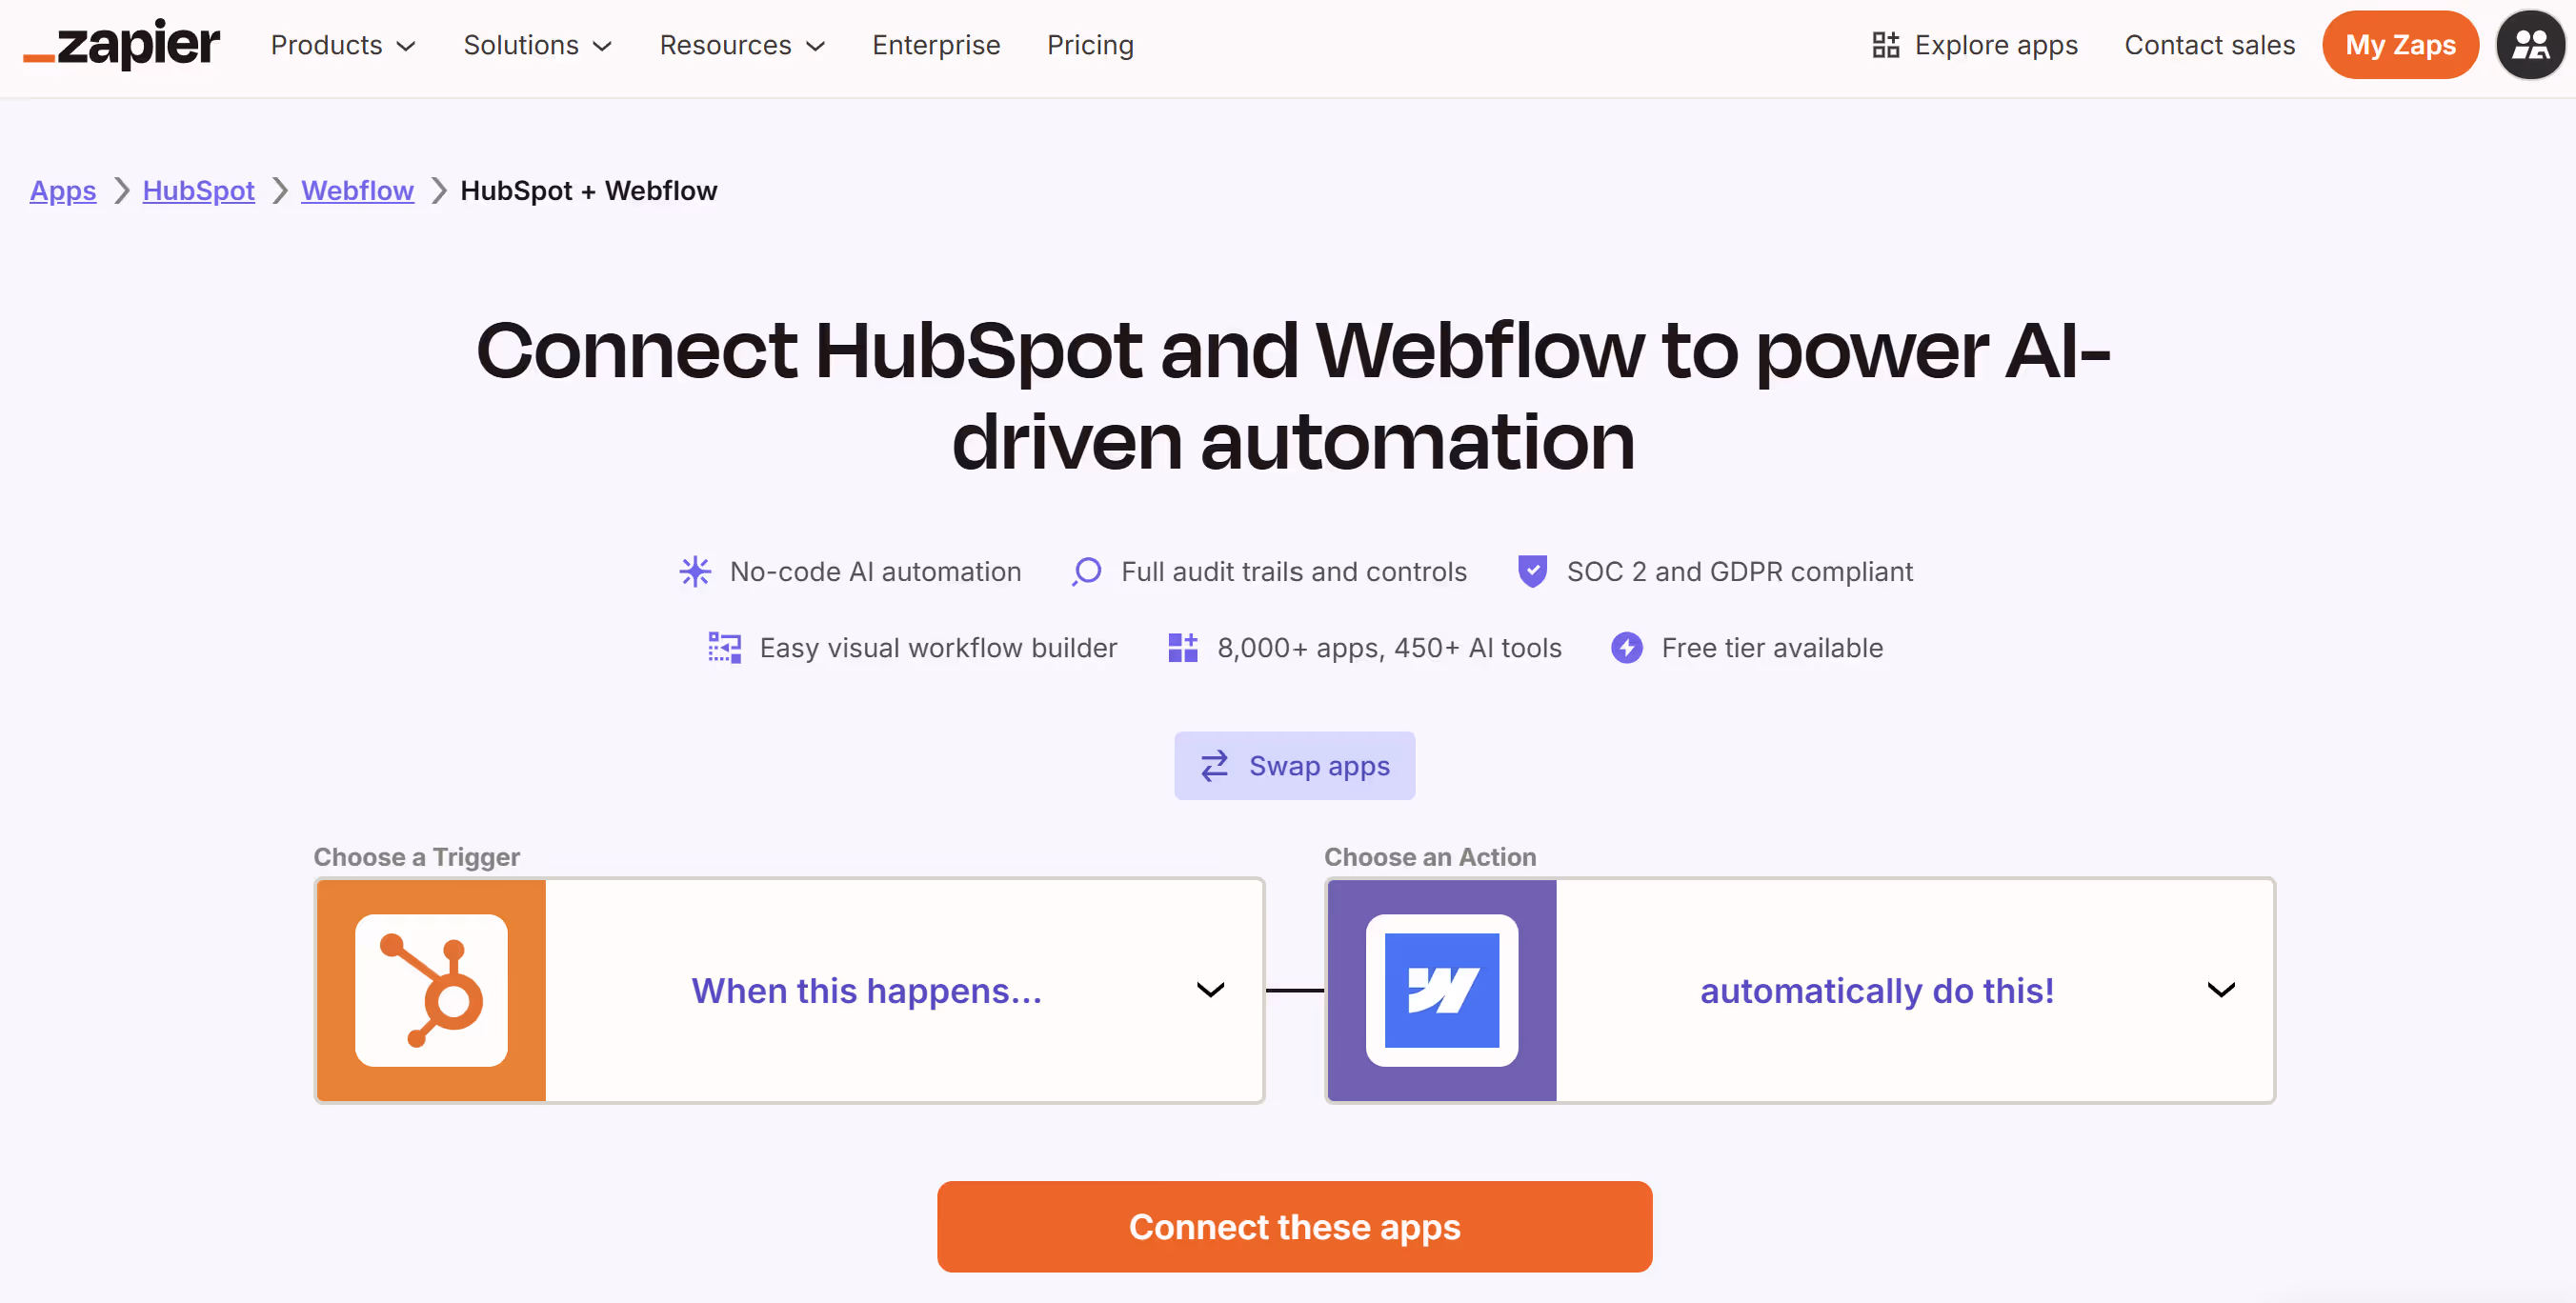
3. API / Middleware / Sync Integration (Advanced / Automated)
For organizations that need fully-automated workflows, complex data sync, custom events, or multi-system integrations, using HubSpot’s APIs or middleware tools to connect with Webflow (or tie Webflow with HubSpot plus other systems) is the most robust approach.
What it Enables:
- Two-way data sync between Webflow and HubSpot (e.g., Webflow form submissions create/update contacts in HubSpot; HubSpot data triggers changes on Webflow site or CMS).
- Custom events/triggers in HubSpot based on Webflow behavior (e.g., page visits, form engagements) and vice versa.
- Complex automation: HubSpot workflows triggered by Webflow actions, or Webflow pages that personalize content based on HubSpot contact/lead data.
- Use of middleware platforms (like Zapier) or custom scripts to orchestrate integrations across multiple systems.
Implementation Options:
- Use Zapier to connect Webflow and HubSpot (e.g., when a new Webflow form submission, create a HubSpot contact).
- Use HubSpot’s REST or GraphQL APIs to build custom integrations: for example retrieving data from HubSpot in Webflow via CMS, or pushing Webflow form data into HubSpot via the API.
- Use Webflow’s CMS API and HubSpot’s API in tandem to synchronize content, contacts, custom events, etc.
- Set up custom automation scripts or serverless functions that listen for Webflow webhooks and then push to HubSpot (or vice versa).
Pros:
- Maximum flexibility and automation potential.
- Ideal for scaling, enterprise-level workflows, complex personalization, multi-system environments.
- Future-proof for growth, more complex lead lifecycle automation, custom triggers and interactions.
Cons:
- Requires developer/engineering resources, API knowledge, deep understanding of both platforms.
- More potential failure points: field mismatches, API limit issues, data integrity challenges.
- Longer setup time and ongoing maintenance will be needed.
- More expensive potentially (development cost, middleware tool costs, monitoring).
Best for:
Growing or enterprise-level brands that want seamless automation between Webflow front-end, HubSpot backend, and possibly other systems (CRM, ERP, analytics), with real-time data flows and advanced personalization.
Best Practices for HubSpot + Webflow Integration
- Ensure correct form field mapping: When mapping Webflow forms to HubSpot, make sure each Webflow field has a corresponding HubSpot field and unique form names to avoid conflicts.
- Keep tracking code properly placed: Add HubSpot’s tracking script to the head or project settings so site-wide visitor tracking works correctly.
- Match design and UX across systems: Match design and UX across systems: If you use embedded HubSpot forms, note that they load inside iframes and won’t automatically inherit Webflow styling. For brand consistency, use the Webflow HubSpot App with unstyled form mode, or apply custom CSS overrides for embedded forms.
- Test thoroughly: Create test submissions, monitor data flows into HubSpot, ensure workflows trigger as expected, track analytics discrepancies.
- Plan for performance: Embeds and external scripts (HubSpot form code, chat widgets) can impact page load times—monitor Core Web Vitals and consider lazy loading/non-blocking inserts.
- Document your integration: Maintain a map of which Webflow forms map to which HubSpot forms/properties/workflows; track changes over time.
- Use automation smartly: Once leads flow into HubSpot, build workflows, nurturing sequences, and personalize site content when possible to maximize value.
- Monitor data hygiene and duplication: In HubSpot CRM, make sure deduplication by email is enabled, custom fields are aligned, and invalid submissions are filtered.
- Use analytics insights: Leverage HubSpot’s analytics + Webflow site performance to analyze visitor flows, conversion paths, form/drop-off rates and optimize.
Common Challenges and Troubleshooting
- Form submission failures or missing data: Often due to mismatched field types (Webflow vs HubSpot), missing form labels in Webflow, duplicate form names, or incorrect mapping.
- Tracking discrepancies: Differences between Webflow analytics and HubSpot data may arise due to script loading delays, ad-blockers, missing code placement, or cross-domain issues.
- Performance impact: Heavy embeds (HubSpot forms, chat widgets) can slow page load and harm user experience / SEO rankings.
- Styling limitations: Some HubSpot form fields (e.g., reCAPTCHA) may not be supported by the Webflow app embedding method, forcing iframe or code embed workarounds.
- Maintenance overhead: If embed codes or API endpoints change, you may need to revisit your integration; custom workflows may break with platform updates.
- Data duplication or mismatches: Without proper deduplication or mapping, you may end up with duplicate contacts, missing fields, or incorrect segmentation in HubSpot.
- Workflow automation gaps: If you trigger HubSpot workflows based on Webflow events, missing event tracking or improper enrollment criteria can cause leads to fall through the cracks.
Conclusion
Integrating HubSpot with Webflow enables you to build beautifully designed websites (via Webflow) while capturing, managing and automating your lead-marketing-CRM flows (via HubSpot). From the simple app installation to embed/code methods and full API-powered automation, there are rich options depending on your technical capacity and business needs.
Whether you’re a small business looking to capture leads and track campaigns, or an enterprise brand aiming to personalize journeys and tie front-end behavior into backend CRM workflows, HubSpot + Webflow offer a highly capable hybrid setup.
At Composite, we’ve helped brands combine Webflow’s design precision with HubSpot’s marketing and CRM automation, creating sites that convert, nurture and scale with purpose.
Thinking about integrating HubSpot with Webflow? Let’s talk.